Adding Lit Signs to Your Laser Business
A Guide to Getting Started
As an Amazon Associate I earn from qualifying purchases
OFFERING LIT SIGNS CAN MAKE YOUR BUSINESS STAND OUT FROM THE COMPETITION
Starting Easy - Backlit Signs
Backlit signs are one of the easiest lit signs you can create. No soldering or complicated wiring involved! If you can make a round sign (think door hanger) you can make an amazing backlit sign! Don't stop at round, this technique can be applied to any shape. Read on to find out how I accomplished this!

How to Create a Backlit Sign
For this large 36" round sign I used 1/2" plywood, and even though I could *probably* cut that out on my Thunder Nova 35-100 watt C02 laser, I found it quicker and less stressful to use this circle jig with my router.
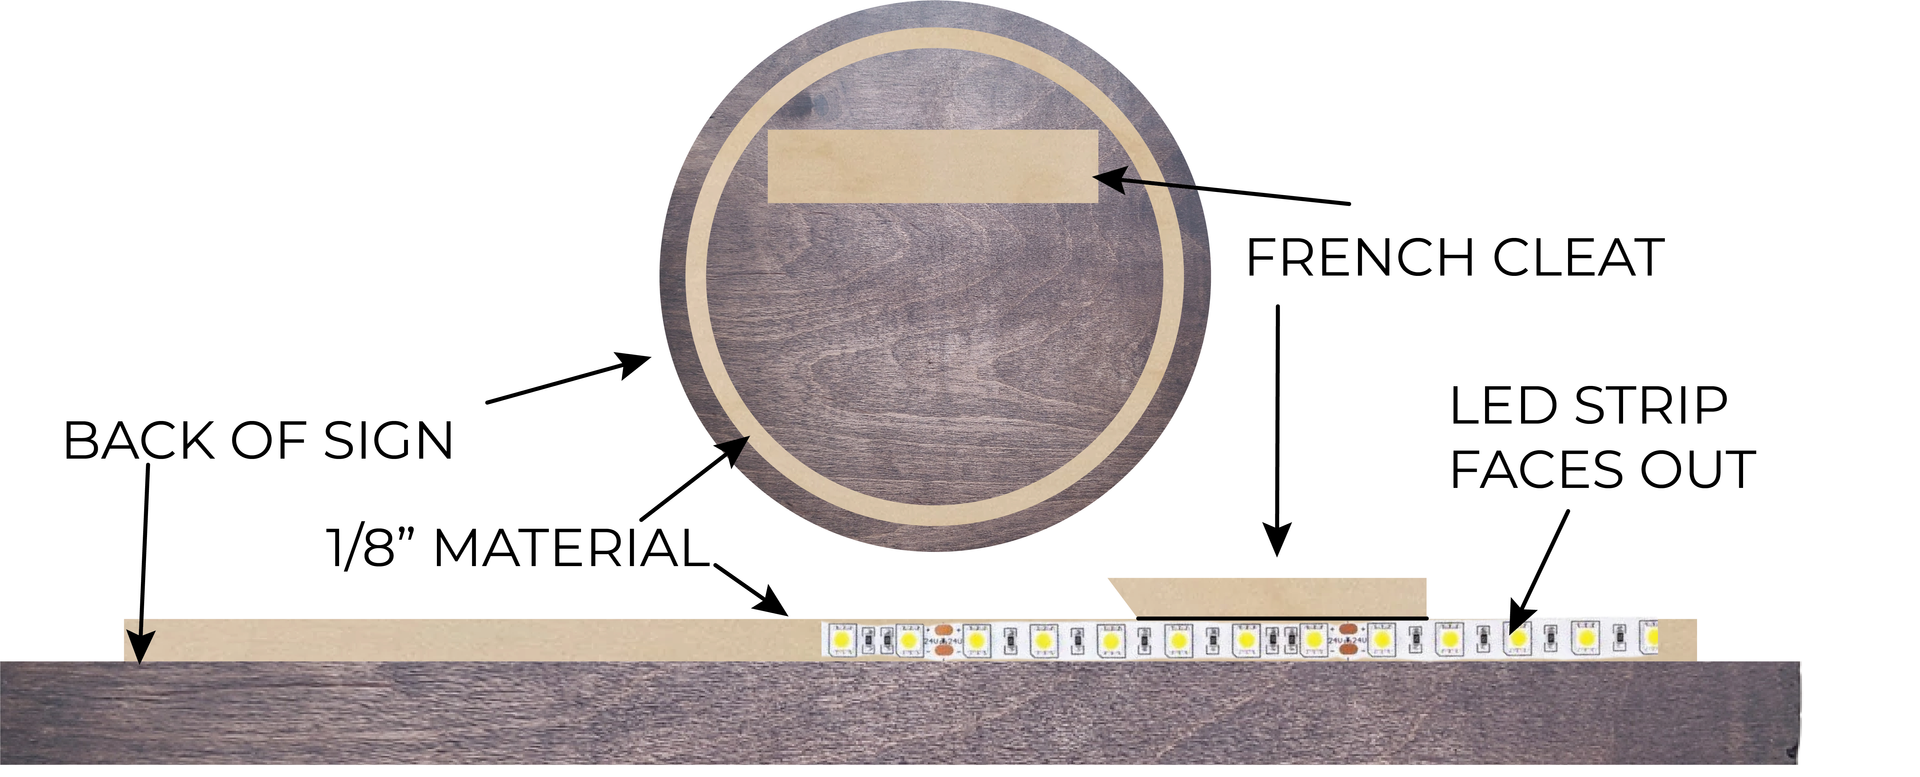
The most important factor in backlit signs is how it mounts to the wall. If your backer is flush to the wall the lights won't be visible. I prefer to use a french cleat hanging system.
The next factor is having something to mount your light strip onto. I cut a 28" circle out of 1/8" material using my laser and glued it to the back of the sign. Make sure you line it up so the power supply ends at the bottom center of your sign. I start from the power supply end at the bottom, and adhere it all the way around. When you reach the end, simply cut the strip along one of the black cut lines. I like to add zip tie anchors at the bottom to provide strain relief on the cord.
STEP UP YOUR GAME
Next Level - Adding Light Bulbs
Add a pop of pizzazz to any sign with a few well placed light bulbs! With the right materials, this method is almost as easy as adding a light strip to a backlit sign! Again, you can accomplish this look with NO soldering or complicated wiring!

Adding Bulbs to a Sign
If you've never heard of vampire sockets, boy are you in for a pleasant surprise!
To create a sign with light bulbs, you will need lamp wire, sockets and, of course, the light bulbs themselves.
You can add the sockets anywhere you want along the wire. To attach, simply clamp the 2 pieces together. The vampire "teeth" will pierce the wire when clamped. Always be mindful of leaving enough wire length that your customer can easily plug in their beautiful new sign. You also need to make sure you add a female plug to the end of the wire to avoid injury. I like to have extra male & female plugs on hand. Watch a short video on attaching male and female vampire plugs here.
THE ULTIMATE LIT SIGN
Creating Custom Faux Neon Signs
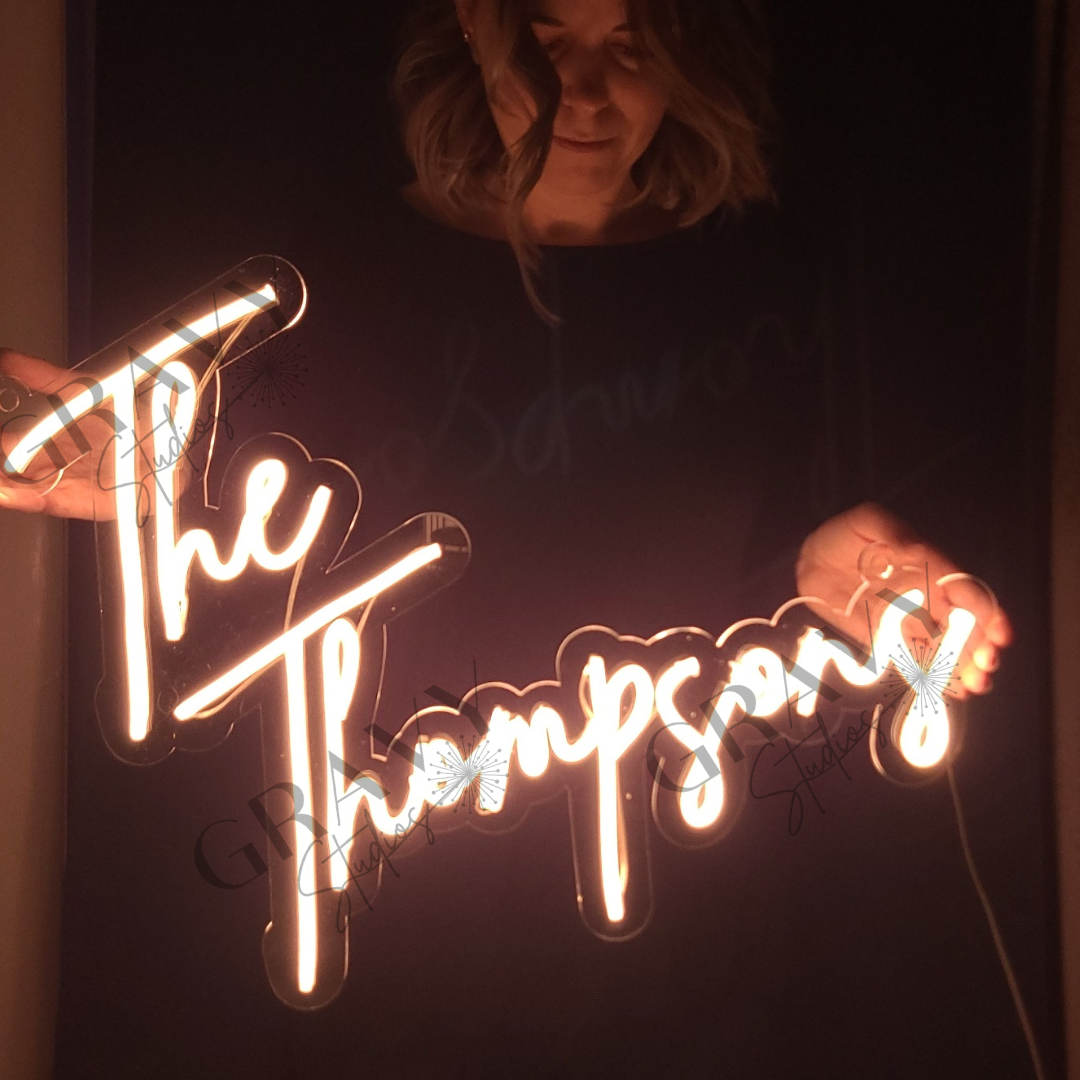
Custom neon signs are all the rage! From weddings, to events, churches, kid's room decor and more! Learning how to create custom neon signs can open SO many doors for your business!

Neon Flex Light Basics
So, you've conquered the backlit signs, you've added all the bulbs, and now you're ready for MORE. Making custom signs with flex light is much more involved than other lit sign methods, and you'll need to invest in tools and supplies to get the job done. Here are some of my favorite tools when it comes to dealing with flex light.
Cutting - can you use scissors to cut flex light? Yes, BUT. With the circuit board inside, you will evetually be dulling your scissor blades. I've found that using scissors results in a jagged silicone end. That is not what I want to hand over to my customer! I really like using flex tube cutters.
Soldering - Ah yes, the dreaded soldering. You'll need a soldering iron, wire strippers, a good quality exacto knife, and the third hand soldering tool can be a real life saver.
Assembly - Decide on the design or saying you want your custom sign to display and ensure it fits within the dimensions of your backer. Cut the strips to follow your design, soldering connection points along the way. Affix the LED strips to your backer, plug in your sign and watch your creation come to life!
Ready to Learn More?
If you're ready to deep dive into making faux neon signs, Hustle&Glow is the place for you! This video-based masterclass has ALL the resources in one place! With over a dozen videos ranging from how to design, how to get started, to ending the circuit, this course will give you ALL the tools you need to succeed in adding custom neon signs to your business!
About Jenna
I've been a maker and laser owner for several years. I love challenging myself, and what better way than to try making my own neon signs? Through lots of testing and research I finally got my process down. I noticed many other laser owners struggling with the same things, and I decided to share my knowledge with other makers like me! The idea behind Hustle&Glow is to empower other makers by having everything in one place, to make YOU feel like you've got this! If I can do it, you can too!


